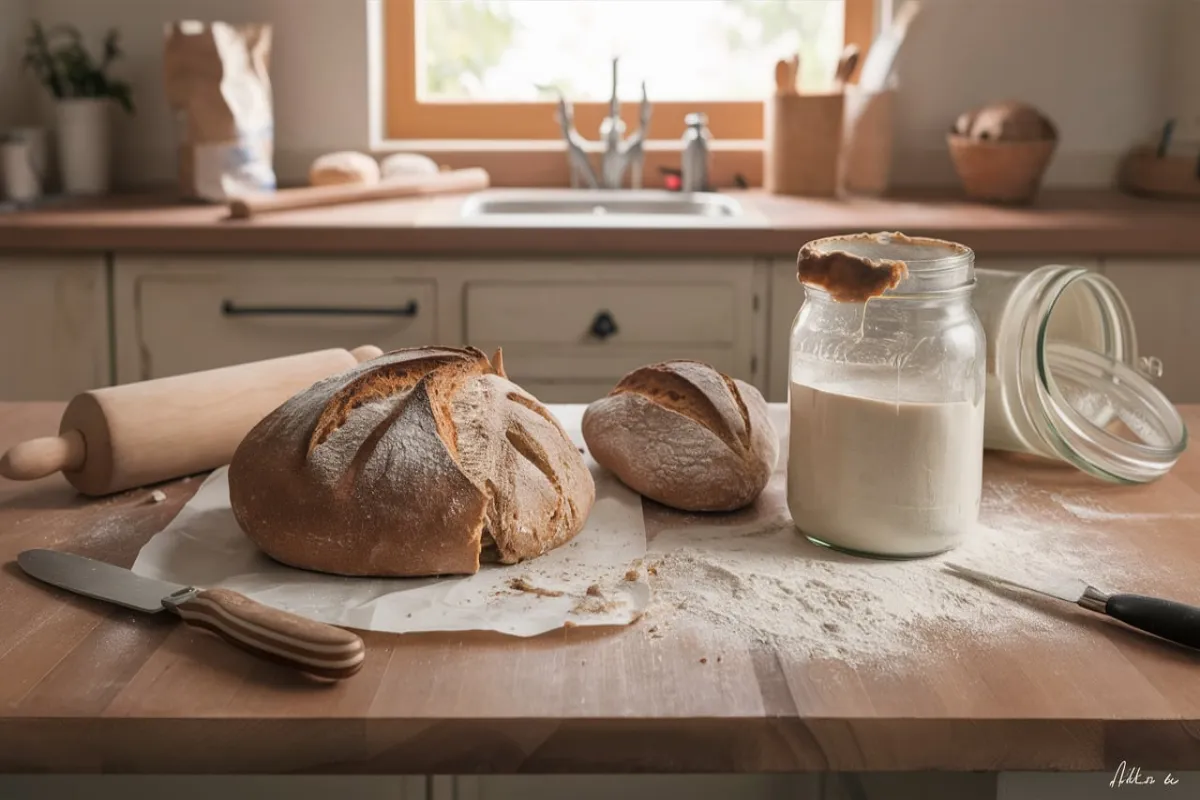
Sourdough baking has gained immense popularity in recent years, and for a good reason. The process of making sourdough bread is both an art and a science, resulting in a loaf that is rich in flavor, has a beautiful crust, and offers health benefits due to its natural fermentation. However, mastering sourdough requires patience, practice, and attention to detail. There are numerous mistakes that both beginners and experienced bakers can make, which can lead to disappointing results. In this guide, we’ll explore the most common pitfalls and what not to do with sourdough, helping you to avoid these errors and achieve the perfect loaf every time.
Common Mistakes: What Not to Do with Sourdough Starter
1. Don’t Neglect Feeding Your Starter Regularly

One of the most crucial aspects of maintaining a healthy sourdough starter is regular feeding. A common mistake is forgetting to feed the starter or doing so inconsistently. A starter is a living culture of wild yeast and bacteria, and like any living organism, it needs regular nourishment. Neglecting your starter can lead to it becoming weak, inactive, or even moldy.
- Tip: Feed your starter at least once a day if kept at room temperature, or once a week if stored in the refrigerator. If you know you won’t be able to feed it regularly, consider drying some of your starter as a backup.
2. Don’t Use Your Starter Before It’s Ready
Impatience can lead to using your starter before it’s fully active and ready. A starter needs to be bubbly, active, and at its peak after feeding before it’s strong enough to leaven bread properly. Using a starter that hasn’t been properly fed or isn’t mature enough can result in dense, flat loaves.
- Tip: Perform the “float test” to check if your starter is ready. Drop a small amount of starter into a glass of water; if it floats, it’s ready to use. If it sinks, give it more time to ferment.
3. Don’t Ignore Unpleasant Smells
A healthy sourdough starter should have a pleasant, slightly tangy aroma. If your starter starts to smell unpleasant—like rotten eggs, mold, or nail polish remover—this is a sign that something is wrong. These smells indicate that unwanted bacteria or yeast have taken over, which can spoil your bread.
- Tip: If your starter smells off, try refreshing it by discarding most of it and feeding the remaining portion with fresh flour and water. If the smell persists, it may be time to start a new batch.
What Not to Do with Sourdough Dough Mixing and Kneading
1. Don’t Rush the Autolyse Process
The autolyse process, where flour and water are mixed and allowed to rest before adding other ingredients, is crucial for developing the dough’s gluten structure. Skipping or rushing this step can result in dough that is difficult to work with and lacks the elasticity needed for a good rise.
- Tip: Allow your dough to autolyse for at least 30 minutes to an hour. This rest period helps the flour absorb water, making the dough easier to knead and resulting in a better crumb structure in your final loaf.
2. Don’t Over-Knead or Under-Knead Your Dough
Kneading is essential for developing gluten, which gives the bread its structure and chew. However, both over-kneading and under-kneading can cause problems. Over-kneaded dough can become tough and hard to shape, while under-kneaded dough won’t develop enough gluten, leading to a dense, flat loaf.
- Tip: Knead the dough until it reaches the “windowpane test” stage. This means you should be able to stretch a small piece of dough into a thin, translucent membrane without it tearing. This indicates that the gluten is well-developed.
3. Don’t Use the Wrong Type of Flour
Flour is the foundation of your sourdough, and using the wrong type can dramatically affect your results. For example, all-purpose flour can work, but bread flour, which has a higher protein content, will provide better gluten development and structure. On the other hand, using whole wheat or rye flours without adjusting hydration can make the dough too dense.
- Tip: Use bread flour for the best results, especially when you’re just starting out. If you want to incorporate whole grain flours, start with small percentages and increase gradually as you become more comfortable with handling the dough.
What Not to Do During Sourdough Dough Fermentation
1. Don’t Skip the Bulk Fermentation
Bulk fermentation is when the dough is allowed to rise after mixing and kneading. This step is critical for developing flavor and structure. Skipping or cutting short the bulk fermentation can result in underdeveloped dough, leading to a loaf that lacks flavor and has a dense crumb.
- Tip: Allow your dough to ferment at room temperature for at least 3-4 hours, or until it has doubled in size. For a more pronounced sourdough flavor, you can extend this time or refrigerate the dough for a cold fermentation.
2. Don’t Over-Ferment Your Dough
While fermentation is crucial, over-fermenting can be just as problematic as under-fermenting. If the dough is left to ferment for too long, the yeast will exhaust itself, and the gluten structure will begin to break down, leading to a loaf that spreads out instead of rising upwards.
- Tip: Keep an eye on the dough’s volume rather than strictly following the clock. Once the dough has doubled in size and feels airy and soft, it’s ready for the next step. If in doubt, gently press the dough with your finger; if the indentation springs back slowly, it’s ready.
What Not to Do with Sourdough When Shaping the Dough
1. Don’t Forget to Pre-Shape the Dough

Pre-shaping the dough is an often overlooked step, but it helps in building surface tension, which is crucial for achieving a good rise and structure. Skipping this step can result in a loaf that spreads out during baking rather than holding its shape.
- Tip: After the bulk fermentation, gently deflate the dough and pre-shape it into a round or oval shape. Let it rest for 10-15 minutes before giving it a final shape.
2. Don’t Handle the Dough Too Aggressively
Sourdough is delicate, and handling it too roughly can cause it to deflate, ruining all the work you’ve done to develop air pockets during fermentation. Over-handling can also result in a loaf with a poor crumb structure.
- Tip: Handle the dough gently, using a light touch when shaping. Use a dough scraper to help guide the dough without tearing or deflating it.
3. Don’t Forget to Score the Dough
Scoring (making shallow cuts on the dough’s surface) is essential for controlling how your bread expands during baking. Forgetting to score can lead to uncontrolled tearing or cracking, which affects both the appearance and texture of your bread.
- Tip: Use a sharp knife or a lame to score the dough just before baking. Experiment with different patterns to create beautiful designs on your bread’s crust.
What Not to Do with Sourdough During Baking
1. Don’t Put the Dough in a Cold Oven
Starting your bread in a cold oven can lead to poor oven spring (the final rise that occurs when the dough hits the heat). This can result in a dense loaf with a heavy texture.
- Tip: Always preheat your oven to the required temperature before placing the dough inside. For sourdough, a high temperature (usually around 450°F or 230°C) is essential to achieve a good rise and a crispy crust.
2. Don’t Forget to Create Steam in the Oven
Steam is crucial for the first few minutes of baking as it helps the dough expand and develop a beautiful crust. Without steam, the crust will form too quickly, preventing the bread from reaching its full potential in terms of rise and texture.
- Tip: Use a Dutch oven to trap steam inside, or place a baking tray with water in the bottom of your oven. Alternatively, you can spritz the inside of the oven with water just after placing the dough inside.
3. Don’t Open the Oven Door Too Early
Opening the oven door too early during baking can cause a drop in temperature and loss of steam, which can negatively impact the rise and texture of your bread.
- Tip: Resist the temptation to check on your bread during the first 20 minutes of baking. Let the oven do its job without interruption.
What Not to Do After Baking
1. Don’t Slice the Bread Too Soon

One of the most common mistakes is cutting into the bread too soon after it comes out of the oven. While it’s tempting to slice into a warm loaf, doing so can result in a gummy texture as the steam trapped inside hasn’t had time to escape and redistribute.
- Tip: Allow your sourdough bread to cool completely on a wire rack before slicing. This usually takes about 1-2 hours, depending on the size of the loaf.
2. Don’t Store the Bread Improperly
Improper storage can lead to your sourdough bread drying out too quickly or becoming soggy. Storing it in plastic can cause the crust to soften, while leaving it exposed to air will dry it out.
- Tip: Store your bread in a paper bag or a bread box to keep the crust crisp while allowing the interior to stay moist. If you need to keep it for longer, consider freezing it in slices and toasting them as needed.
Common Myths and Misconceptions About Sourdough
1. Myth: Sourdough Bread is Always Sour
A common misconception is that sourdough bread is always tangy or sour. In reality, the flavor of sourdough can vary widely depending on factors like fermentation time, the specific starter used, and the flour type. While some sourdoughs have a pronounced tang, others are quite mild.
- Tip: If you prefer a milder flavor, reduce the fermentation time or use a starter with a less acidic profile. Conversely, for a more sour taste, extend the fermentation time or use a more mature starter.
2. Myth: You Can’t Overfeed Your Starter
Some bakers believe that feeding a sourdough starter more frequently will make it stronger. However, overfeeding can dilute the yeast and bacteria, making the starter less active.
- Tip: Stick to a consistent feeding schedule, and remember that less is sometimes more. If your starter is too weak, give it some time to rest between feedings to allow the yeast and bacteria to multiply.
3. Myth: Sourdough is Hard to Digest
While some people find it difficult to digest certain types of bread, sourdough is often easier on the stomach due to the natural fermentation process. The long fermentation helps break down gluten and other compounds, making it more digestible.
- Tip: If you’re sensitive to gluten or bread in general, give sourdough a try. Start with small amounts and see how your body responds.
4. Myth: Sourdough is Just for Bread
Sourdough isn’t limited to just bread! You can use sourdough starter in a variety of baked goods, including pancakes, waffles, pizza dough, and even cakes.
- Tip: Experiment with your starter in different recipes to reduce waste and discover new flavors. Sourdough discard (the portion of starter you remove during feeding) is perfect for adding a tangy twist to many dishes.
Frequently Asked Questions (FAQs)
1. Why is my sourdough bread so dense?
A dense sourdough loaf can result from several factors, such as using an inactive starter, under-kneading the dough, or insufficient fermentation. Ensure your starter is bubbly and active before using it, knead the dough until it passes the windowpane test, and allow enough time for bulk fermentation.
2. How often should I feed my sourdough starter?
The frequency of feeding depends on how you store your starter. If kept at room temperature, feed it once a day. If stored in the refrigerator, feed it once a week. Consistent feeding keeps your starter healthy and active, ready for baking.
3. Can I overproof my sourdough dough?
Yes, overproofing occurs when the dough ferments for too long, causing the yeast to exhaust itself and the gluten structure to break down. This results in a loaf that spreads out rather than rising upward. Keep an eye on the dough’s volume rather than strictly following the clock.
4. What should I do if my sourdough starter smells bad?
If your sourdough starter has an unpleasant smell, like rotten eggs or nail polish remover, it may be contaminated with unwanted bacteria or yeast. Refresh the starter by discarding most of it and feeding the remaining portion with fresh flour and water. If the smell persists, consider starting a new batch.
5. Why is the crust of my sourdough bread not crispy?
A non-crispy crust can result from insufficient baking temperature or lack of steam during baking. Ensure you preheat your oven to a high temperature (around 450°F or 230°C) and create steam by baking in a Dutch oven or placing a tray of water in the oven.
Conclusion
Sourdough baking is a rewarding and fulfilling practice, but it’s not without its challenges. By understanding what not to do with sourdough, you can avoid common mistakes and set yourself up for success. Whether you’re a beginner or an experienced baker, these tips will help you improve your technique, resulting in better-tasting and more visually appealing sourdough creations.
Remember, sourdough is as much about the journey as it is about the destination. Embrace the learning process, and don’t be afraid to make mistakes along the way—they’re all part of becoming a skilled sourdough baker.

